


Photojournalist Jann Tenenbaum used to train her camera lens on subjects with names like Queen Elizabeth, Jacqueline Kennedy Onassis, Bruce Springsteen, Pope John Paul II, and hockey great Wayne Gretzky. Her pictures appeared in publications ranging from The New York Times to USA Today. Then a friend of hers was on the way to Los Angeles one morning when her plane was rammed into the World Trade Center during the 9/11 attacks. With no one left to care for her friend’s dog, a golden retriever named Naboo, Ms. Tenenbaum adopted him, photographed him as a way of dealing with her grief, and never looked back. Today she takes pictures only of subjects with names like Trixie, Lucky, Queenie, and Duke. Really good pictures.
Michael Weymouth, owner of Weymouth Design in Boston, also knows a thing or two about taking pictures of dogs. Yes, his portfolio includes images shot all over the world of Nobel prize-winning scientists, the president of the World Bank, and others of note. But as he shows in his book, The Gentle Whisper of Living Things, he is able to get incredible photos of non-humans who share the planet with us, including animals who are a lot less cooperative than our canine friends.
Cambridge, Massachusetts-based photographer Susan Wilson has captured some notables herself — Tina Turner, Prince, Prince Charles, Carly Simon, and Bonnie Raitt, to name a few. But her website has a “Critters” tab that demonstrates she, too, knows a thing or two about capturing a dog (as well as other animals) on film.
All three of these professional photographers know that people love to take pictures of their canine pals, and often of their canine pals with kids. All of them also know those pictures often come out lousy. Let’s face it. It’s hard to coax a dog, or a toddler, to cooperate until you get it “just right,” hard to keep their attention. In addition, these paid picture takers know that most people don’t have, as they do, cameras that cost thousands of dollars with all kinds of attachments for controlling light and depth and other variables. Rather, they tend to make do with the cameras on their phones.
The good news, all of them say, is that there’s a lot you can do with your phone camera to improve the quality of your pictures of canine and little human loved ones. Herewith, their tips for getting the best photos possible of your pooch — and of your pooch together with human pups.
When it’s a portrait of the dog only
Follow these 11 pieces of advice to get a picture of just your dog by him or herself.
1. Choose a spot in a well-lit room, perhaps near a window with light coming in or outdoors when there’s some sun. “You can create wonderful indoor pet portraits with window light,” Mr. Weymouth says.
If you want to shoot outside, “most professionals would say to do it before 10 in the morning or after 3 or 4 in the afternoon,” Ms. Wilson comments, when the sun is not too high and will create shadows on the face. “Late afternoon light is warmer — orange-y yellow. It’s a cooler light in the morning, more blue.”
Mr. Weymouth agrees about shooting when the sun is low on the horizon rather than high up in the sky in the middle of the day — he calls it “that magical photographer’s light.” Light that comes from straight above, by contrast, tends to create very strong shadows under the eyes and under the nose, he says. “It doesn’t help in a nice way to shape the features.” He also advises that you want to avoid “what we call half light, where half the picture is brightly lit and the other half is in deep shadow. That means the sun is at a strong right angle to what you’re shooting, and you’ll get extreme brightness on one side and extreme darkness on the other. The camera on a cell phone will compute an exposure setting in the middle,” which won’t be quite right for either side.
“I recommend what’s called three-quarter lighting,” he continues. “That means the light is not half on the dog and half off, but comes three quarters of the way across him” so the majority of the exposure is based on either light or dark, but not both. “You can position yourself relative to the sunlight” to achieve that type of lighting, he says. Don’t simply take the lighting you happen to be in.
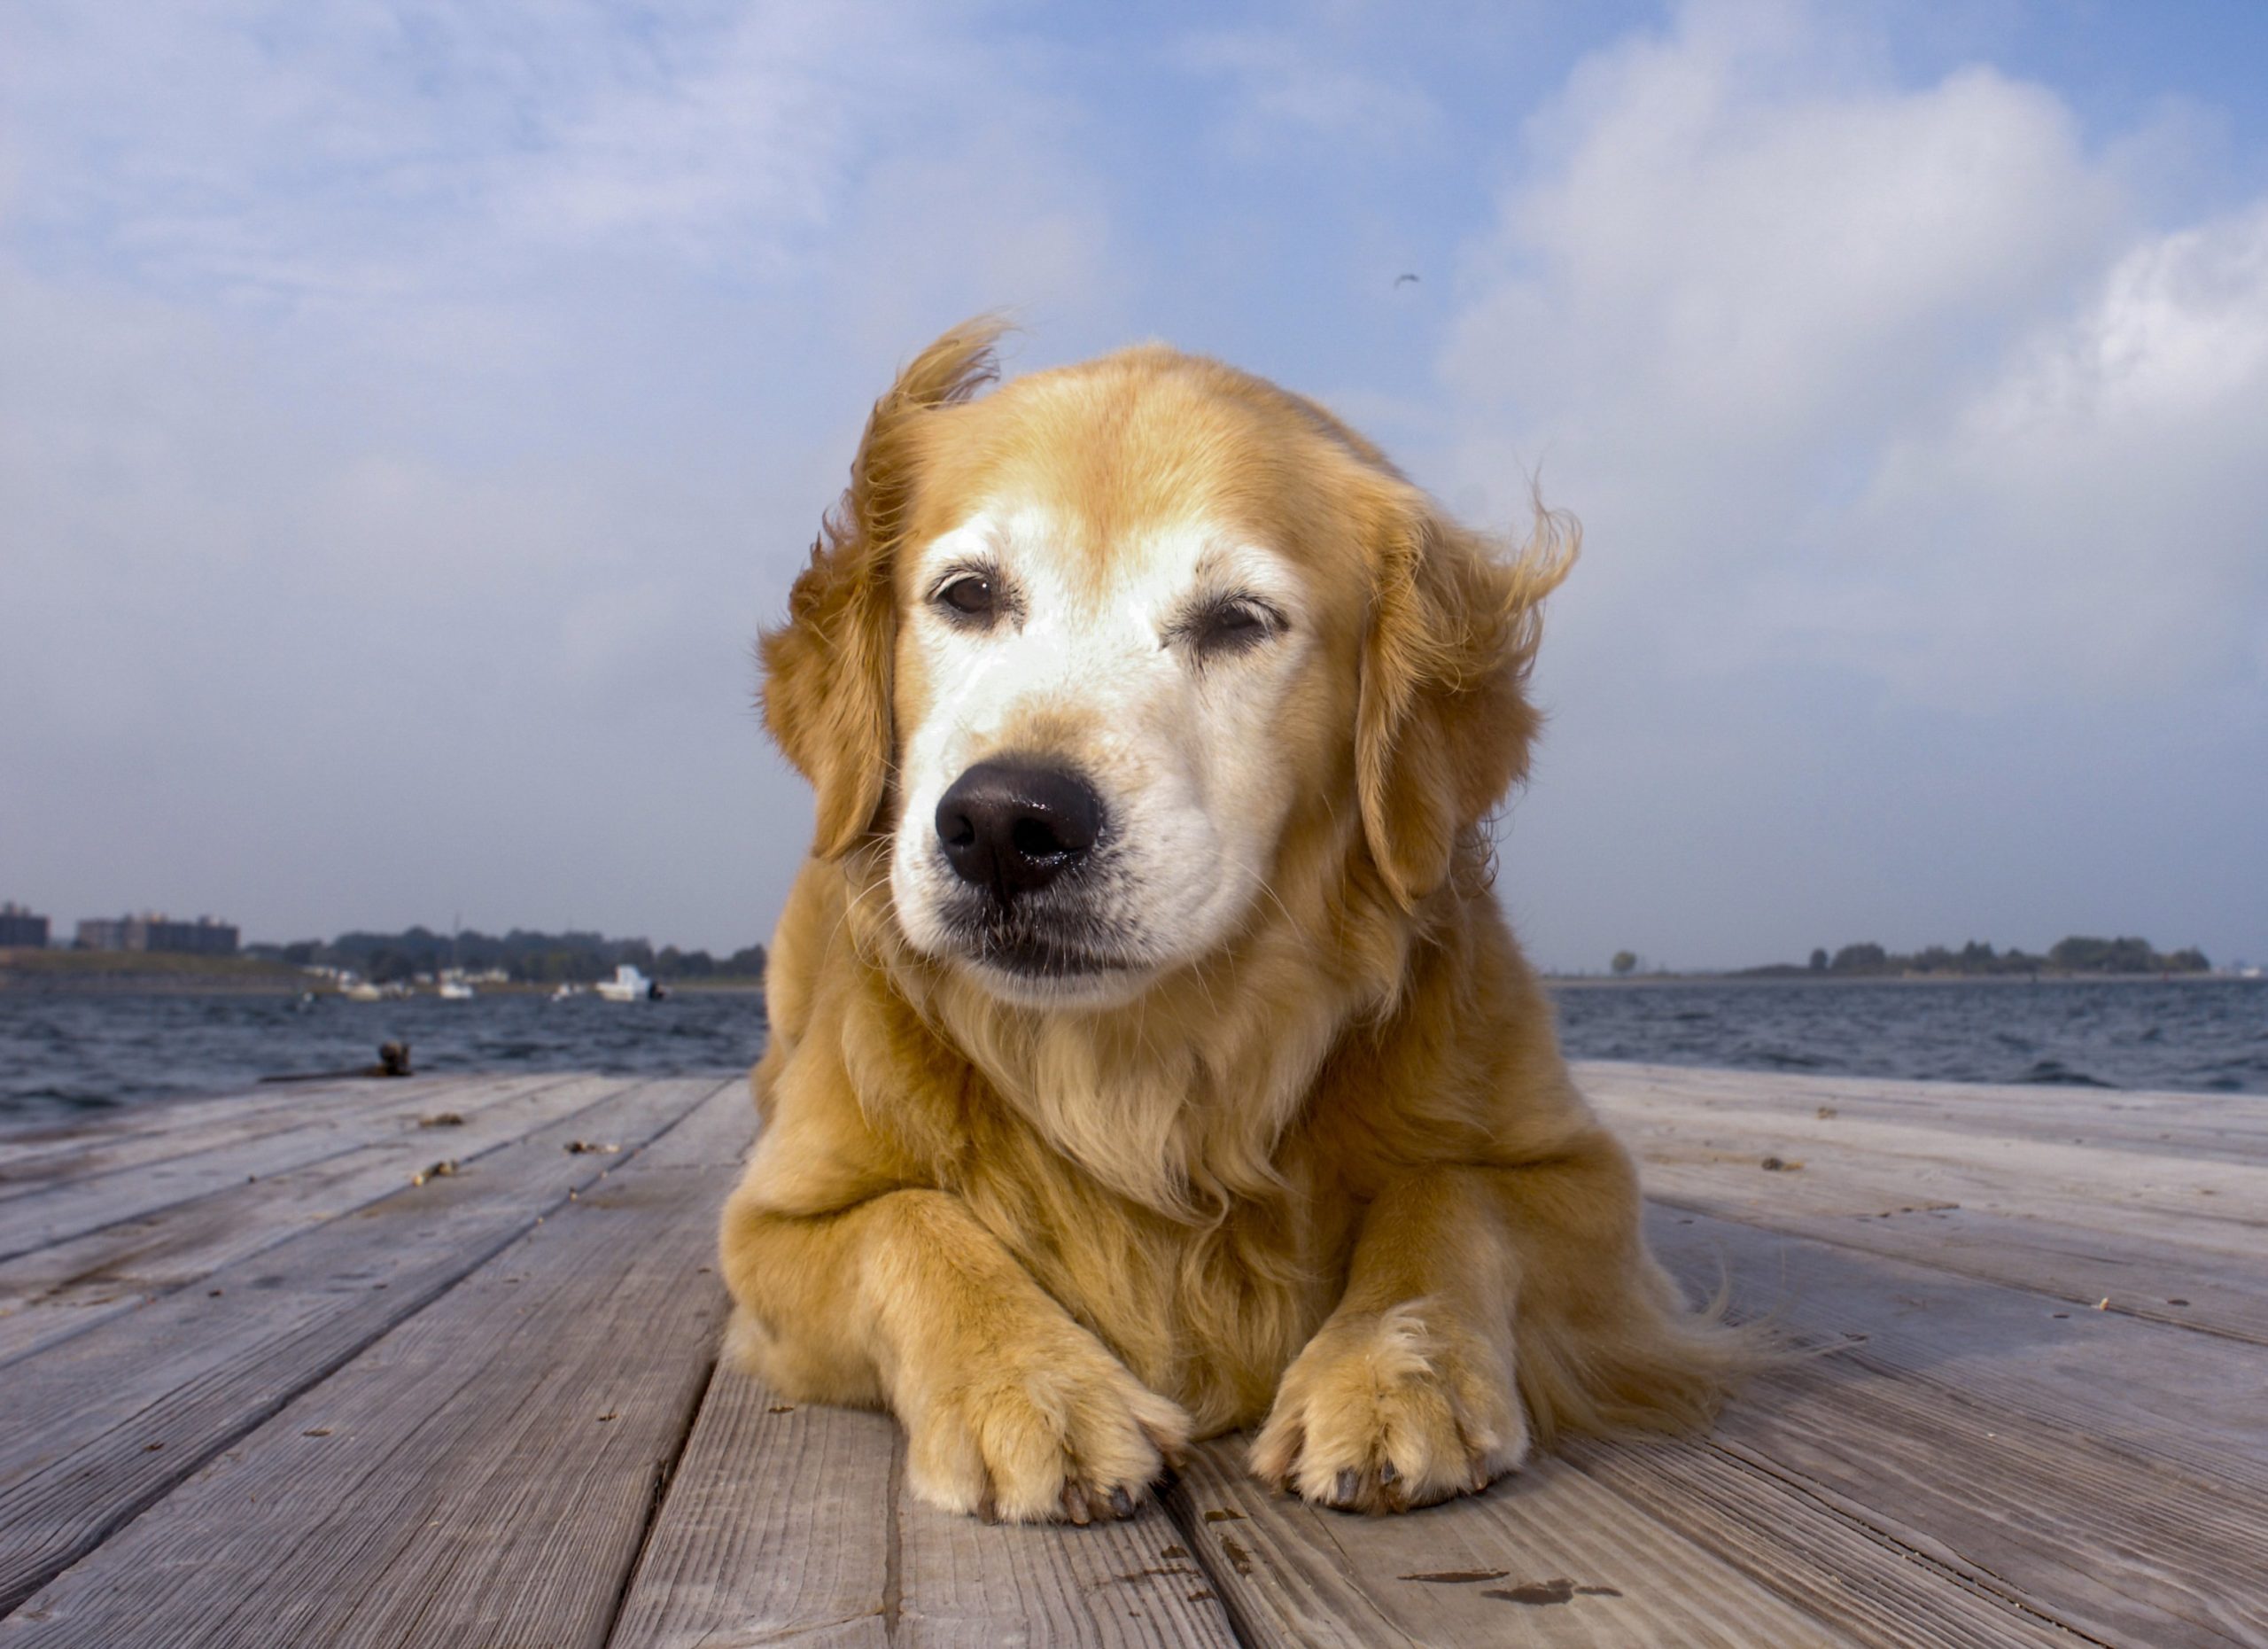
2. Get down on the dog’s level so you are face to face. Much of the reason people love dogs is “their eyes,” Ms. Tenenbaum says. “It’s like their soul is there. When your dog is looking right back at you rather than up at you, you establish a connection.” Adds Ms. Wilson, “it’s often done best if you’re lying flat on your stomach on the floor in front of them.” Sometimes that gets you looking up at your pet rather than eye to eye, which could create its own fun, surprising effect on film.
3. Keep the background simple and uncluttered. Ms. Tenenbaum says that way, the emphasis will be on the dog. “I have lenses that can manipulate the background,” she says, “but a small camera can’t. I’ve seen so many pictures with a tree coming out of the dog’s head. Pay attention — no telephone poles, laundry, car, or woodshed in the background.”
4. Fill the frame. “Try filling the frame with just the dog’s head,” Ms. Tenenbaum suggests, “then back up if you want and photograph the whole dog. So many times it’s the dog — or person — and two miles of road.”
“Some people try to zoom in by filling the borders of the frame with their fingers,” Ms. Wilson says, “but that’s a fake zoom — no different than if you took the picture and then later cropped it. And the farther away you are with a phone camera, the more clarity you lose. Really come close to your subject. With a high-caliber camera you can zoom in from a distance and get just as sharp a photo as if you were actually close up — not with a camera on a phone.”
5. Shoot as many frames as possible right away. “I usually get the best picture in the first minute,” Ms. Tenenbaum says. “Once the dog realizes something is happening, his ears go down and his tongue comes out. He feels like a gun is being pointed at him. He doesn’t understand what’s going on, and it makes him uncomfortable. You can’t tell the dog why he should sit still, which is because you love him and want to capture his image. Dogs start moving around and panting.”
6. “Keep shooting,” Ms. Tenenbaum recommends. This sounds counter-intuitive after her advice to try to capture what you can as quickly as possible. But you can adjust the dog to the situation, she says. “After you get what you can in the first minute or so, the dog will look away or actually move away.” But he will start putting up with the situation, even if he is confused, and may very well finally sit or even lie down. “Then you’re back taking more pictures,” she comments.
“You can also whistle or bark or meow,” she says. “Make a noise, and you’ll have the dog’s attention. I keep a squeaker in my mouth — I take them from tiny stuffed animal dog toys. I squeeze with my teeth, the ears go up, they look at you as if to say, ‘What happened?’ and then you’ve got them for a second.” Whistling often makes the dog look up and to the side in a quizzingly delightful way.
7. Have a second person with you so you can concentrate on taking the photo. That other person can direct the dog to sit. Once the dog is in place, have the person stand behind you so the dog is looking directly into the camera lens.
8. If the dog is moving around too much, put him on a chair. “That’ll keep him still for a bit,” Ms. Tenenbaum says. He’ll stay there for several seconds to a minute.
9. Shoot a lot of pictures — 40, 50, 100. Then narrow it down to “one or two great ones,” Ms. Tenenbam says. The best photo will often, but not always, be in the first batch.
10. If you want to become a better photographer, shoot every single day and start posting the photos you’re proud of on Instagram and Facebook. “If you take pictures just for yourself,” Ms. Tenenbaum says, you’re not going to grow as an artist. “When you post them, you’re going to try to make them as good as possible. You’re also going to profit from the feedback.” You’ll know you struck a chord when a lot of people “like” or comment on a photo you have put up.
“You’ll also begin to find like-minded people who take pictures of their own dogs,” she says. “You’ll begin to build a community and learn from each other.”
11. “Look and look and look and look and look,” Ms. Tenenbaum advises. “A writer becomes a better writer the more she reads. A photographer becomes better the more pictures she looks at. You polish your eye that way.”
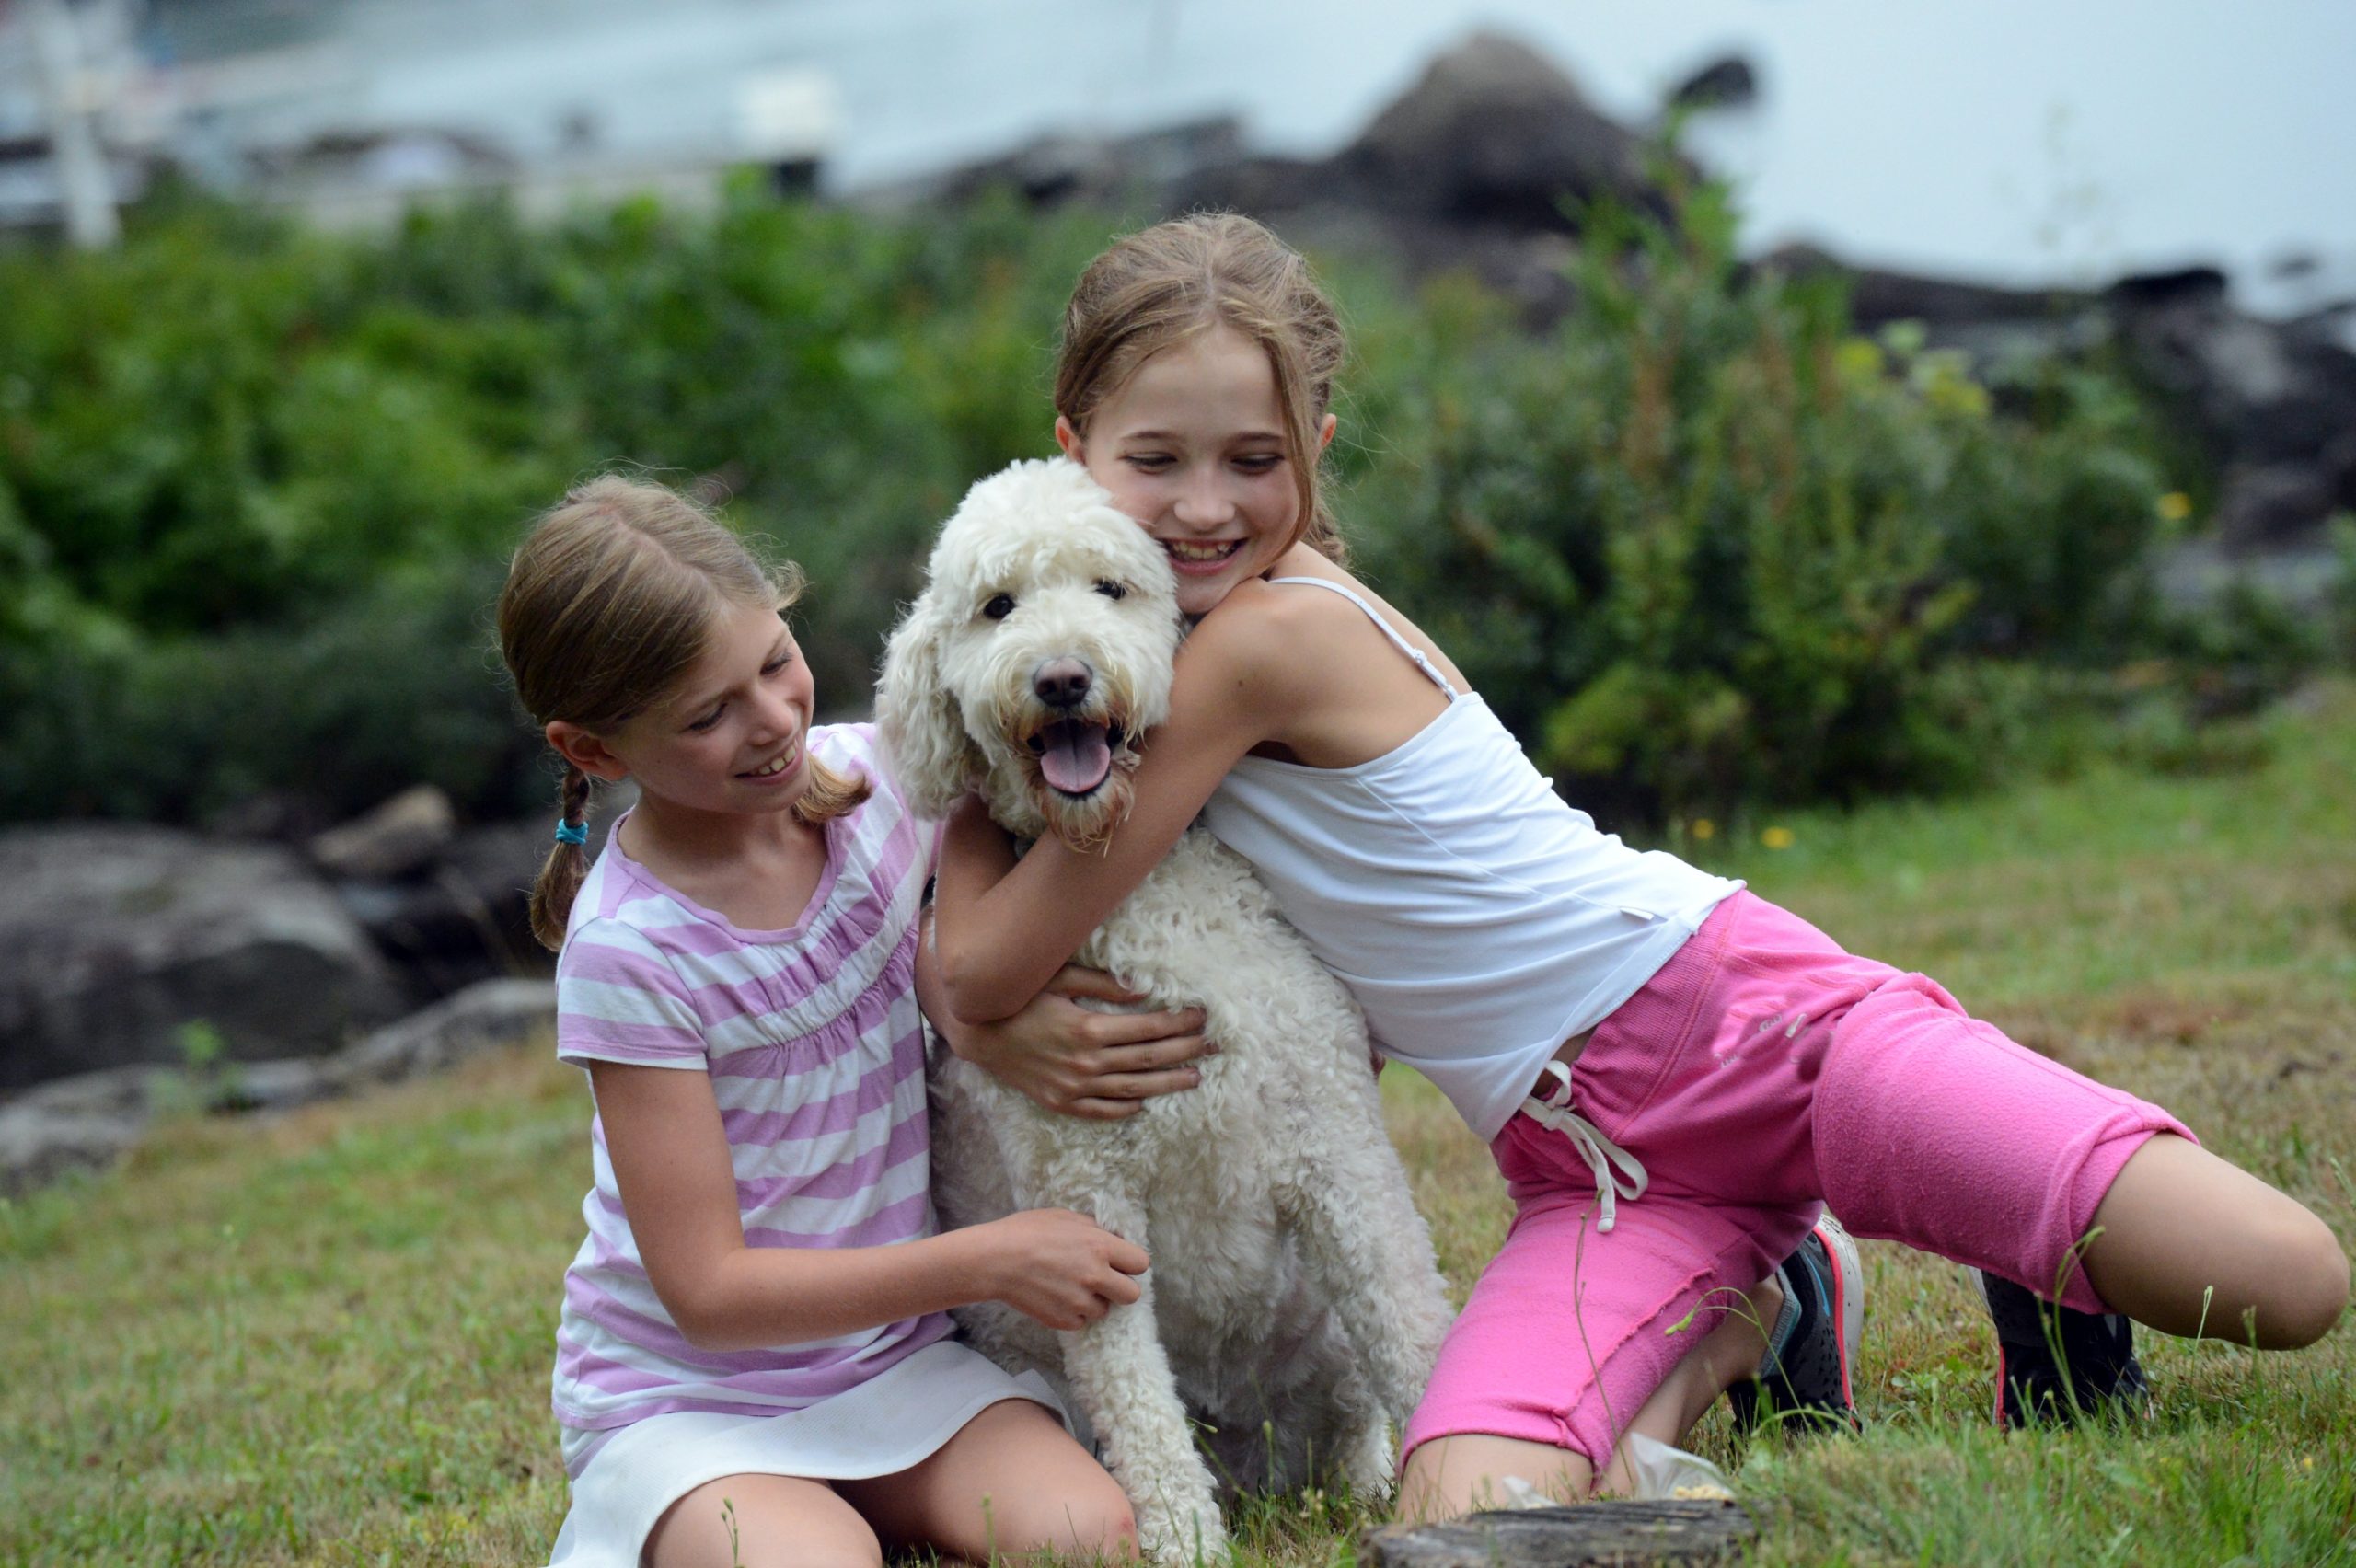
When it’s the dog and children together
When you’re trying to get a good photo of your dog with a child (or children), then it’s two or more beings getting bored very quickly, especially if the child is too young to understand why you want her to stay still. For that reason, Mr. Weymouth says, it becomes even more important than when taking photos of just the dog “to shoot as many pictures as you can before the situation deteriorates.
“It’s not as easy as with a professional camera that has a motor drive that easily allows you to keep snapping away so you can quickly get 100 exposures of the same thing.” But the more pictures you can take, the better the chance that you’re going to get that one good one. “In the rest of them,” he says, “either the dog or the kid is going to have her eyes closed, or they’ll have less than the ideal composite of facial expressions.”
As with dogs by themselves, it’s critical to shoot dogs with children at eye level. “Seeing their expressions, their faces, is really important,” Mr. Weymouth says, “and you can’t do that if you’re standing several feet above them.” Ms. Wilson points out that one of the distinctive cinematographic effects of the movie ET is that “many of the important scenes were shot at the kids’ and ET’s level as opposed to shooting down at them.” That put viewers very much in touch with what those characters were experiencing; it created a bond.
If you want to stage the shot rather than just start shooting to capture a wonderful moment already in progress (a very good tactic, especially if the dog and kids don’t realize you’re there, says Ms. Wilson), first get the camera turned on and shoot a couple of pictures to make sure it’s working the way you want, then put the dog and the children where you want them. If you get them in position and make them wait “while you start futzing with the phone, the shot will just disintegrate,” Mr. Weymouth says. “The dog runs away, and all that stuff.”
One shot that often works quite well, Ms. Wilson says, is a tired dog and a tired child lying down together. They’re calm and still. And, she opines, “one of the cutest things in the world is kids sleeping with dogs.”
Mr. Weymouth suggests paying attention to the value of your background. “Your phone is a pretty cheap computer in terms of how to interpret the exposure,” he says. “You can’t plus and minus it for a correct exposure as you would with a higher-grade camera. So if you shoot a dog and children against a bright, snowy background, your subjects are going to come out much too dark. And if you’re shooting a white dog against a dark background, the camera will set its exposure to a large degree based on the dark background because it occupies most of the space in the frame, and the dog will just be a blob of white — it will lose most of its detail. So don’t use backgrounds that contrast too much; pick a neutral one, if possible. It’s not hard. You just have to be conscious of it. Of course, you can Photoshop if you have a bad exposure,” he adds. “Photoshop is a lifesaver, a safety net.” But you’re adding an extra step that you wouldn’t have to if you choose the optimal background in the first place.
Finally, Mr. Weymouth advises, don’t use direct sunlight with children in the picture. They’ll squint.


